
Blog
stories • happenings • adventures
Blog
stories • happenings • adventures
Winter is well on its way, especially up here in Alaska. The mountains are covered in snow and folks are starting to dust off their fat bikes.
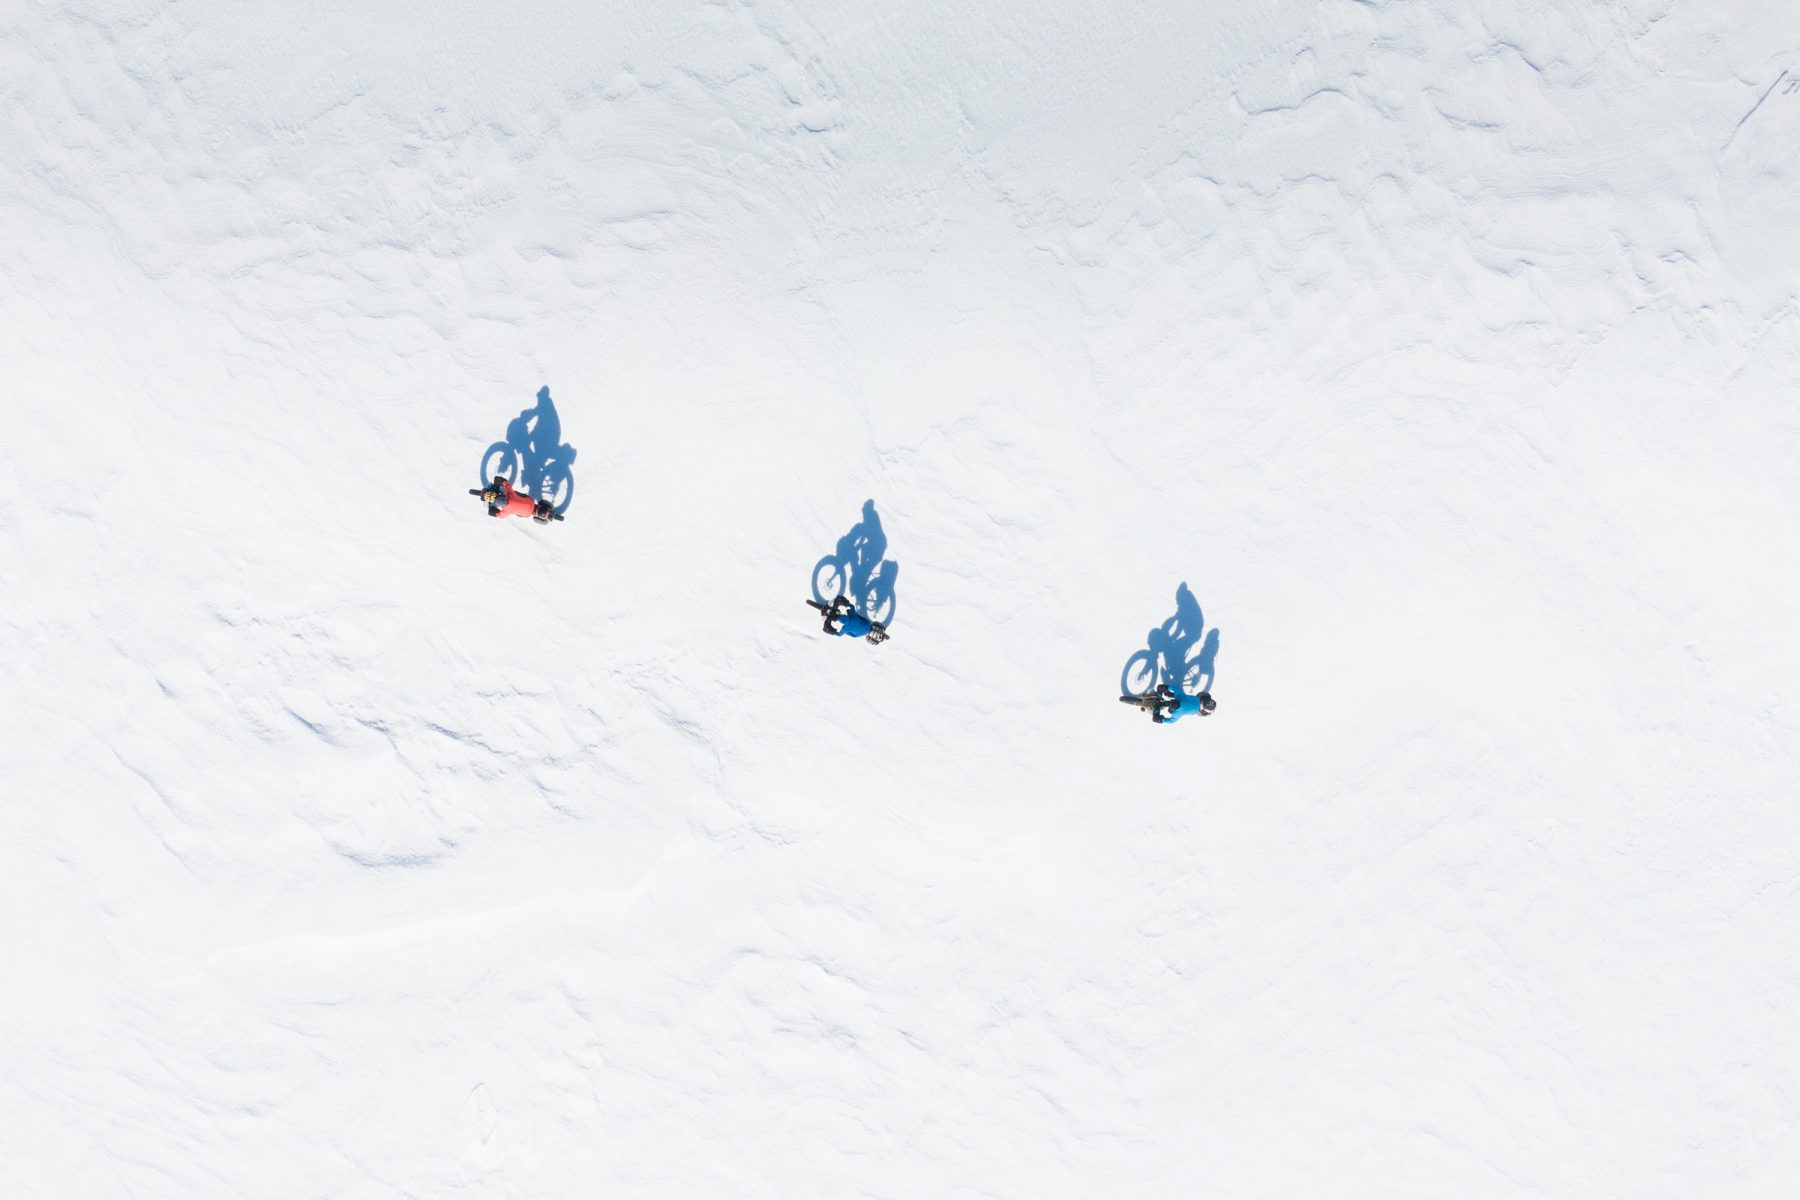
Photo by Ryan Hill
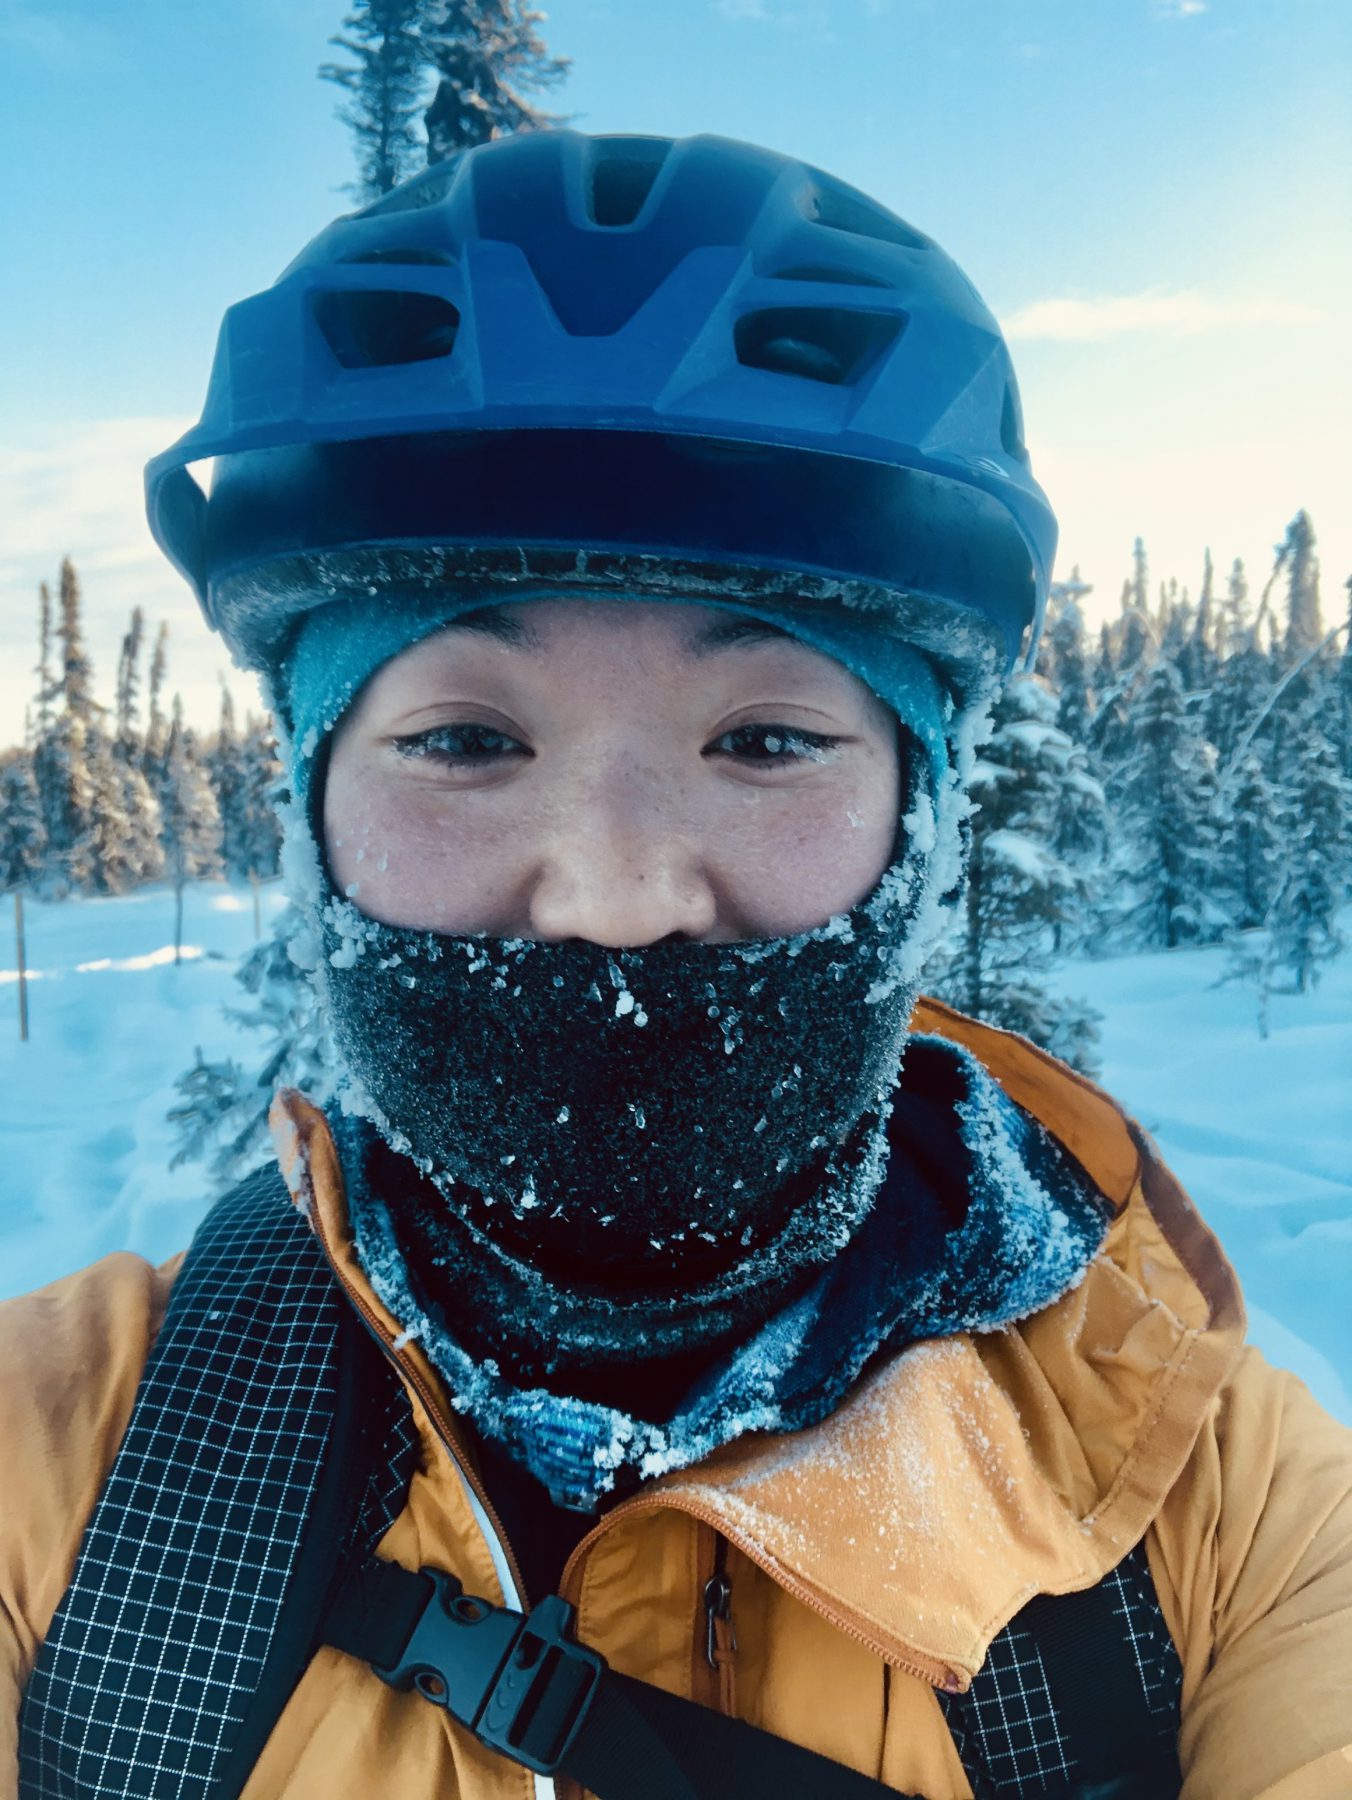
I had the opportunity to learn about winter riding last year when I signed up for the Susitna Half Hundred, a 50-mile bike race through Alaska’s remote wilderness. I spent my weekends leading up to the race riding anywhere between 30-50 miles in rain, sleet, snow, wind, and sub-zero temperatures. I suffered through frozen fingers and toes, flat tires, and bonked from poor snack choices and frozen water bottles, but after much trial and error, I’ve learned a few things about winter biking so I’m sharing what I’ve learned with you in hopes that your transition can be smoother than mine!
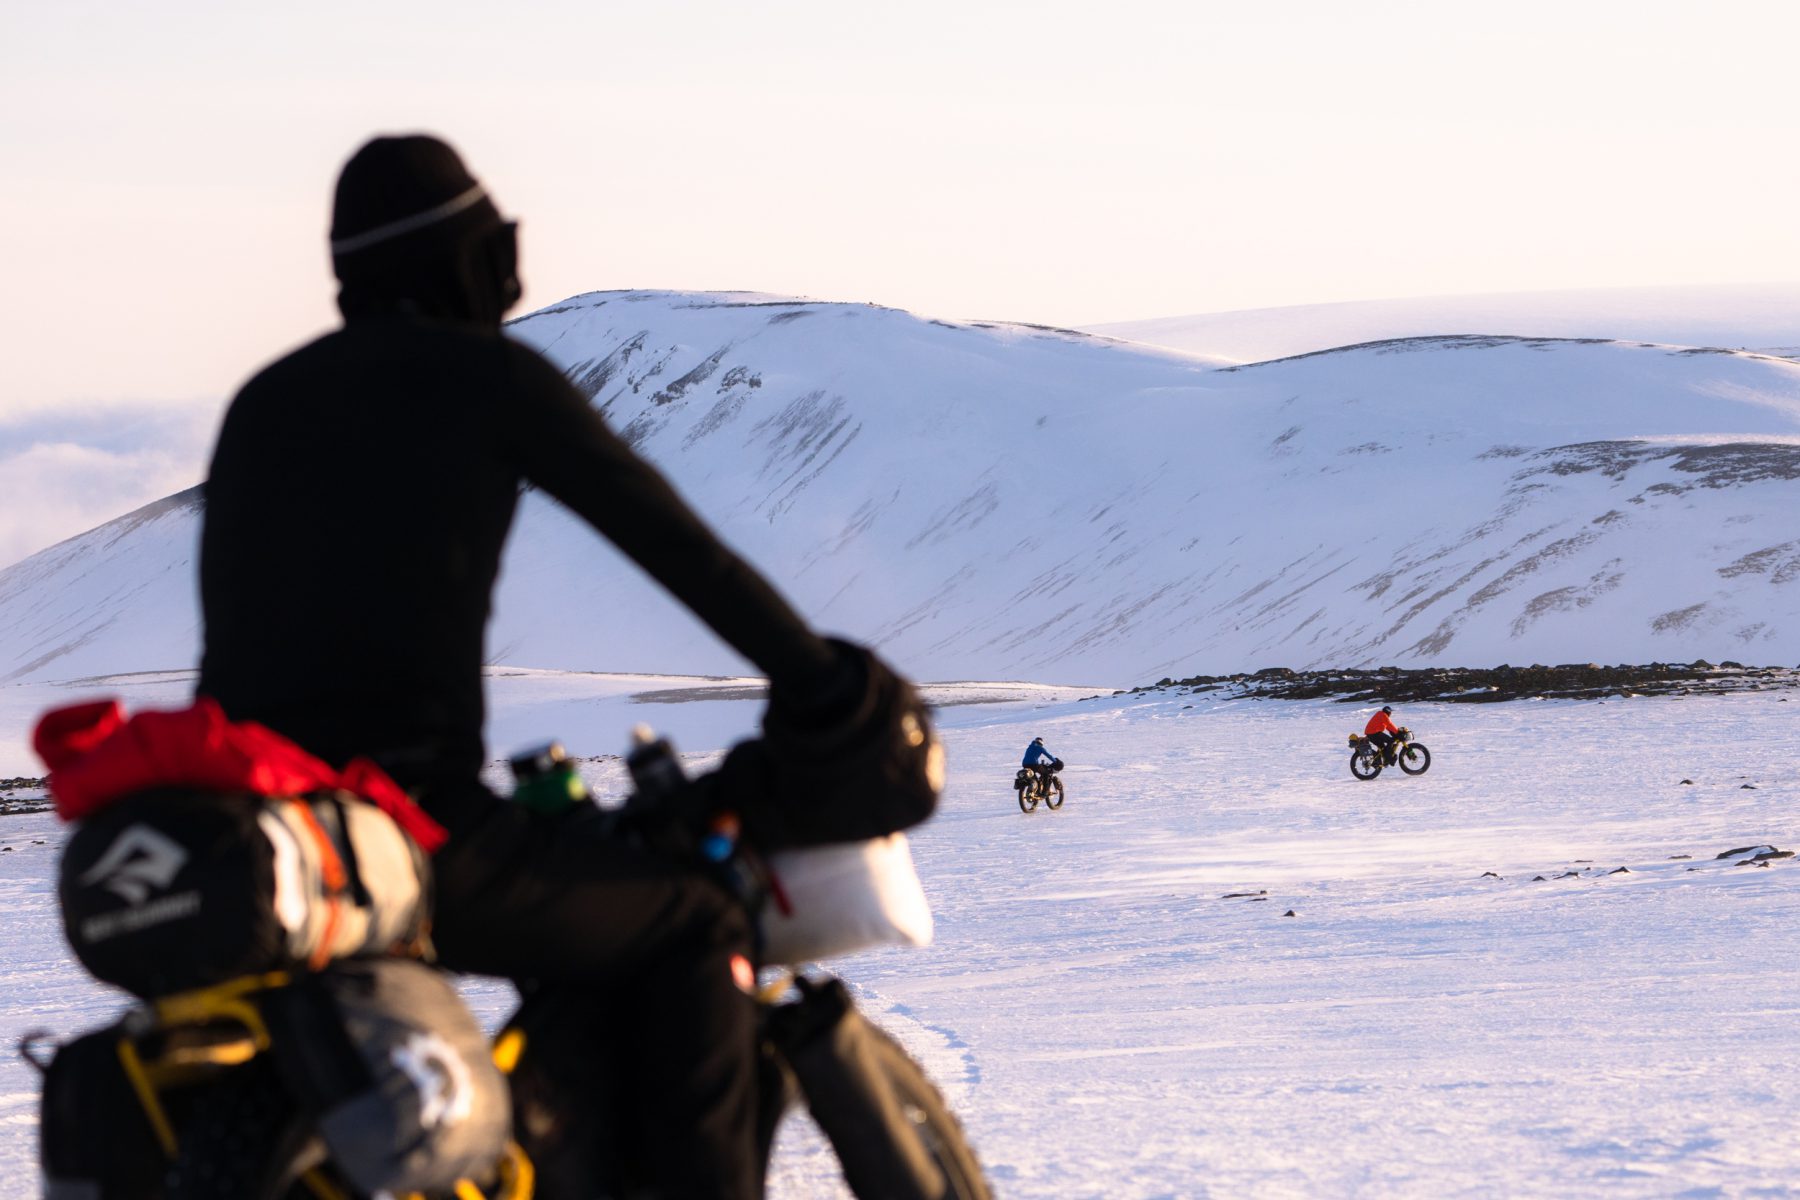
Photo by Ryan Hill
You don’t need a fat bike to enjoy winter biking:
When you think of winter biking, you probably picture a fat tire bike plowing through fresh snow, but in reality you don’t need to have a fat bike to enjoy the sport. Singletrack trails are often groomed and multi-use trails get packed down from other traffic, so unless you’re going out into a snowstorm you can usually get away with riding standard mountain bike tires.
On top of that, the cost of entry for biking is already expensive. Buying a fat tire bike when you’re still exploring the sport can be off-putting. If you already have a bike that can accommodate studded tires, I would start there. A pair of studded tires is going to be a much cheaper investment than buying a fat bike, but still allows you to explore the sport in a safe and fun way.

Photo by Michael O’Dwyer
If you don’t have a bike or one that can accommodate studded tires, many bike shops rent fat bikes. I’ve also seen folks in social media groups and forums that have been open to lending out their bikes for beginners to try!
Start small:
If you’re just starting out or don’t have much experience with winter biking, but have big dreams of doing long winter rides I would recommend that you start with shorter distances. Winter biking can have more severe consequences compared to summer biking due to the snow, ice, and cold temperatures. On top of that, you’re moving slower and working harder to pedal through snow.
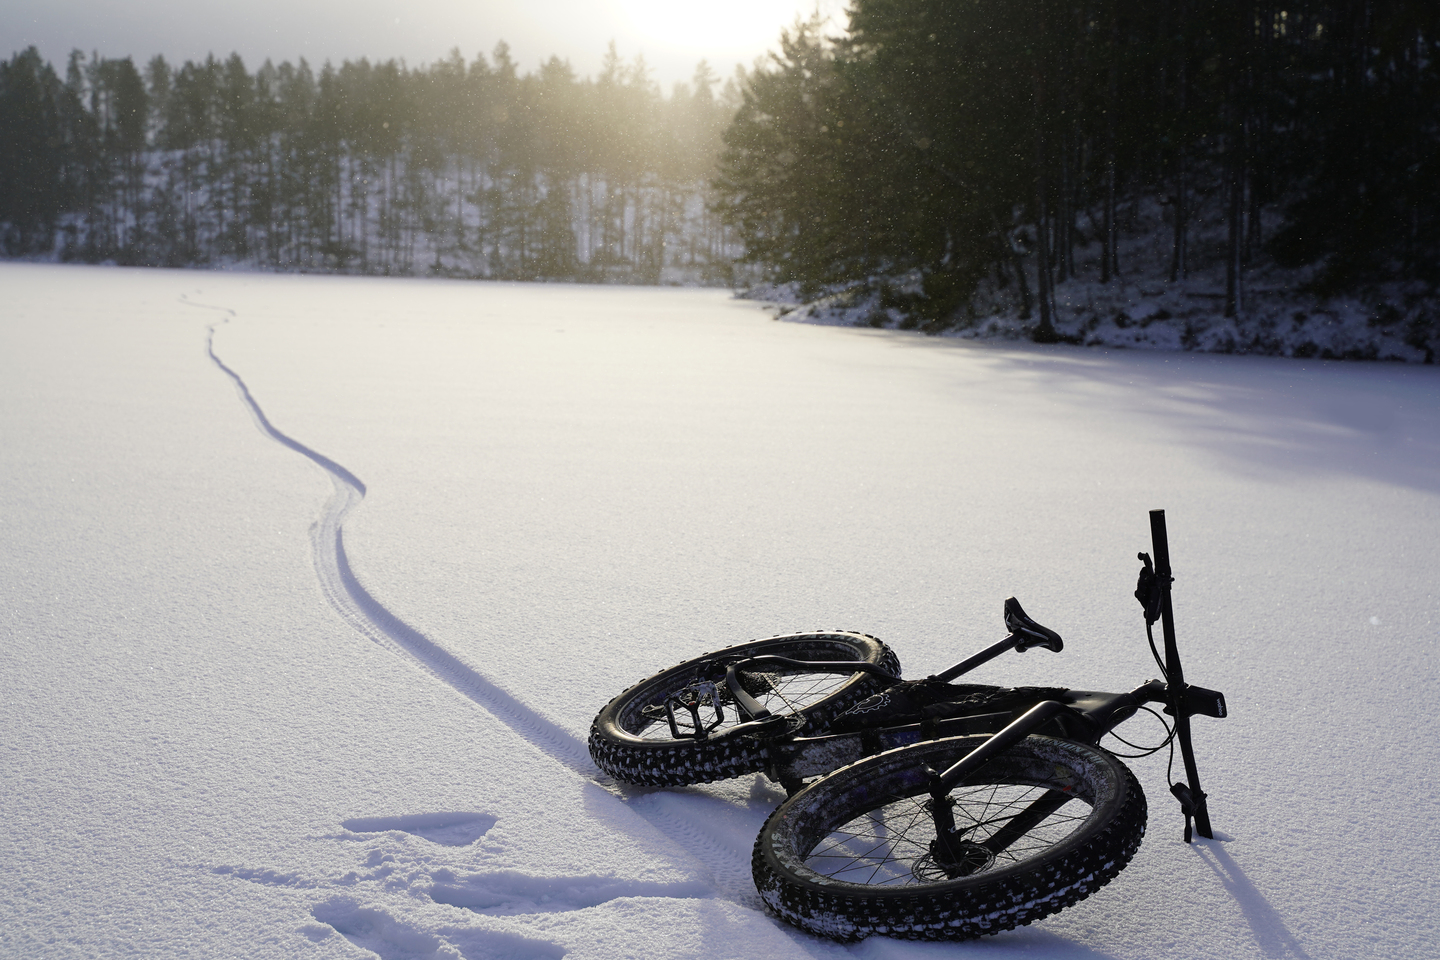
Photo by Michael O’Dwyer
Most of my learning moments happened on short rides close to home (or my car). This allowed me to experiment with layers, snacks, and hydration methods without risking getting stranded in a remote location. It was comforting knowing that if something went wrong I was a short ride or walk from my house or car, and in the worst case I could call up a friend to come rescue me.
It’s important to have snacks, bike tools, extra layers, etc with you at all times so that you are prepared for any situation. You can carry all of these items in a backpack, but a frame bag and/or other bike bags are a great option and will allow you to get the weight off your back.
It’s all about the layers:
You’ll want to start your ride a little cold, trust me you’re going to warm up quick! The last thing you want is to start overheating. Some sweating is inevitable, but you don’t want to be at the point where your clothes are saturated since this can quickly cool you down if the wind picks up or the temperature drops.
The key to staying comfortable on your winter ride is layering. This will allow you to stay warm and dry through a range of temperatures. It can take some time to dial in your layers so here’s a breakdown of what I wear on my rides:
- Head
- Thin merino wool beanie
- A buff or balaclava
- Sunglasses/tinted glasses/goggles – Protect those eyeballs! The sun’s rays are still strong during the winter months and can damage your eyes, plus they’ll help protect from low hanging branches and can serve as wind protection on blustery days.
- Bike helmet
- Hands
- Pogies – These will keep your hands toasty and will help you maintain dexterity since you won’t have to wear bulky gloves or mittens.
- Liner gloves – I wear these under my pogies.
- Mittens or thick gloves – If you don’t want to buy a pair of pogies these will work just fine.
- Upper Body
- Lightweight long sleeve base layer – I usually try and go with something merino wool because it’s thermo regulating and quick to dry.
- Mid-layer – I use a merino wool/polyester blend jacket that has an insulated core.
- Light Shell – I use something similar to the Patagonia Houdini. This is probably my favorite layer because it helps seal in warmth on cold days, blocks wind, and keeps you dry in light rain.
- Outer Layer – A synthetic or down puffy jacket. I rarely wear this layer, but I always bring it with me. I’ll put it on when I’m taking a snack break or on those extra chilly rides. Regardless of the temperature I always bring it with me in case I need to stop for an extended period of time.
- Lower Body
- Base layer – Synthetic or merino wool leggings.
- Outer layer – Fleece lined soft-shell pants that are water and wind resistant.
- Synthetic or down puffy pants – I usually left these at home on shorter rides in town, but made sure to carry them on those extra chilly days or long rides just in case.
- Feet
- Medium to heavy weight wool socks depending on the temperature.
- Winter boots – anything that is waterproof, breathable, warm, and has good grip.
- Hand and toe warmers – I always carried a few of these just in case. I especially love toe warmers because they have the adhesive back. I’ve pasted a couple on my thighs when I was feeling extra cold or stuck them on the back of my phone or on some snacks to prevent them from freezing.
Lights:
The days are short and the daylight can slip away from you so it’s important to always carry a light whether it be a headlamp or a bike specific light that mounts to your handlebars or helmet. I have a handlebar light with a maximum lumen output of 1100. I also always carry a smaller spare bike light or headlamp in case I need to do a trailside repair or my main light malfunctions.

Photo by Ryan Hill
Snacks and Hydration:
I realized a lot of the snacks I take on summer rides don’t necessarily work on winter rides since you have to worry about them freezing. There’s been a couple times I’ve bitten down on a frozen gummy bear and almost cracked my teeth! If you can’t live without some snacks that are prone to freezing, I would just recommend finding a way to keep them warm on your ride, like sticking them in a chest or back pocket.
Your snack breaks are generally going to be a lot shorter during your winter rides. The longer you stop the colder you get so you’ll want snacks that are quick and easy to eat. On long rides, I found it crucial to have something warm to drink or eat like hot chocolate or soup that was ready to go in a thermos.
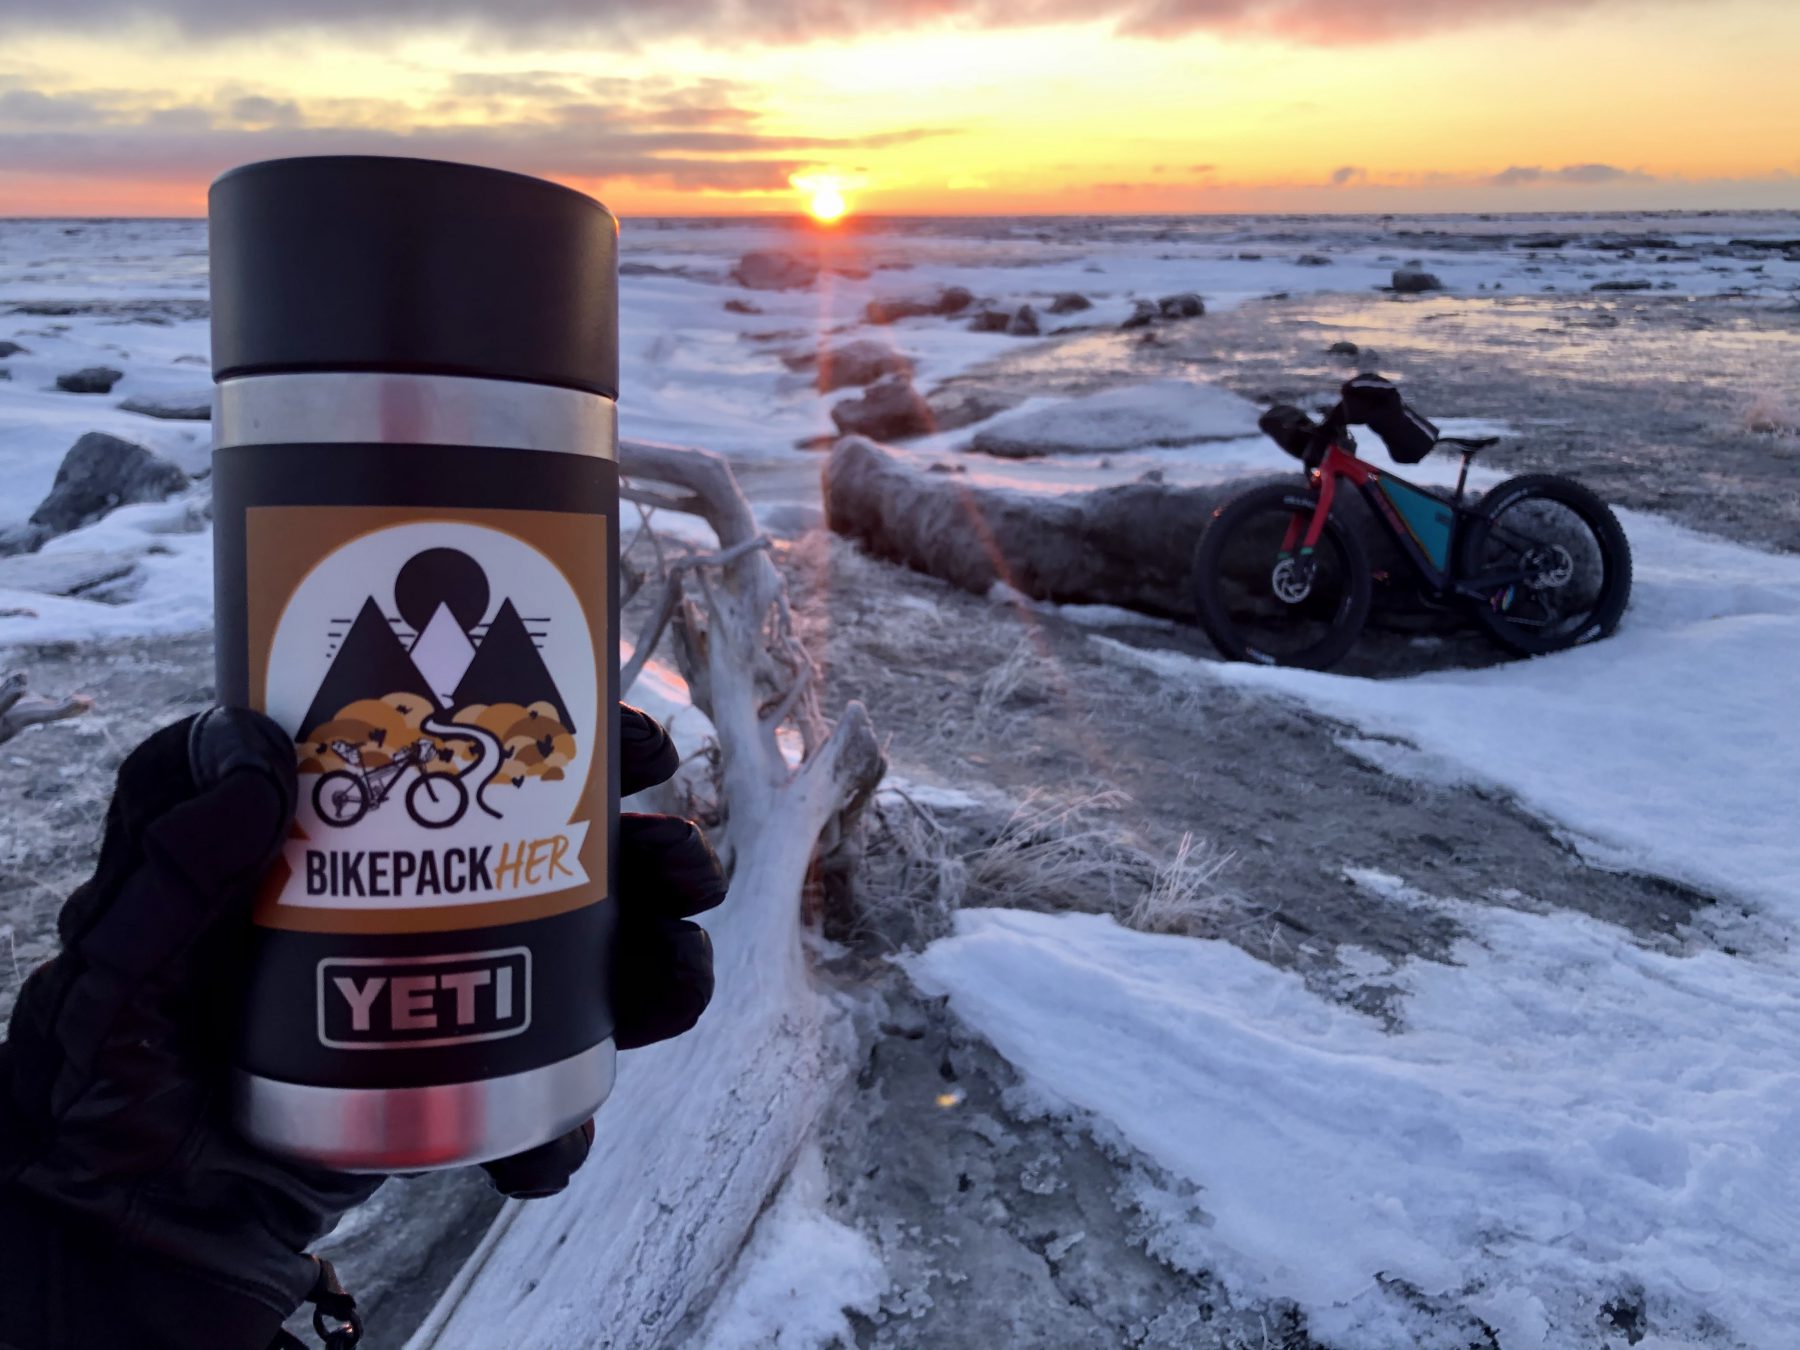
As for hydration, I own Hydro Flasks that do a great job at preventing your water from freezing. I kept these in my Revelate Designs Mountain Feedbags. If I needed extra water I would also carry a Nalgene with a neoprene-insulated sleeve in my backpack.
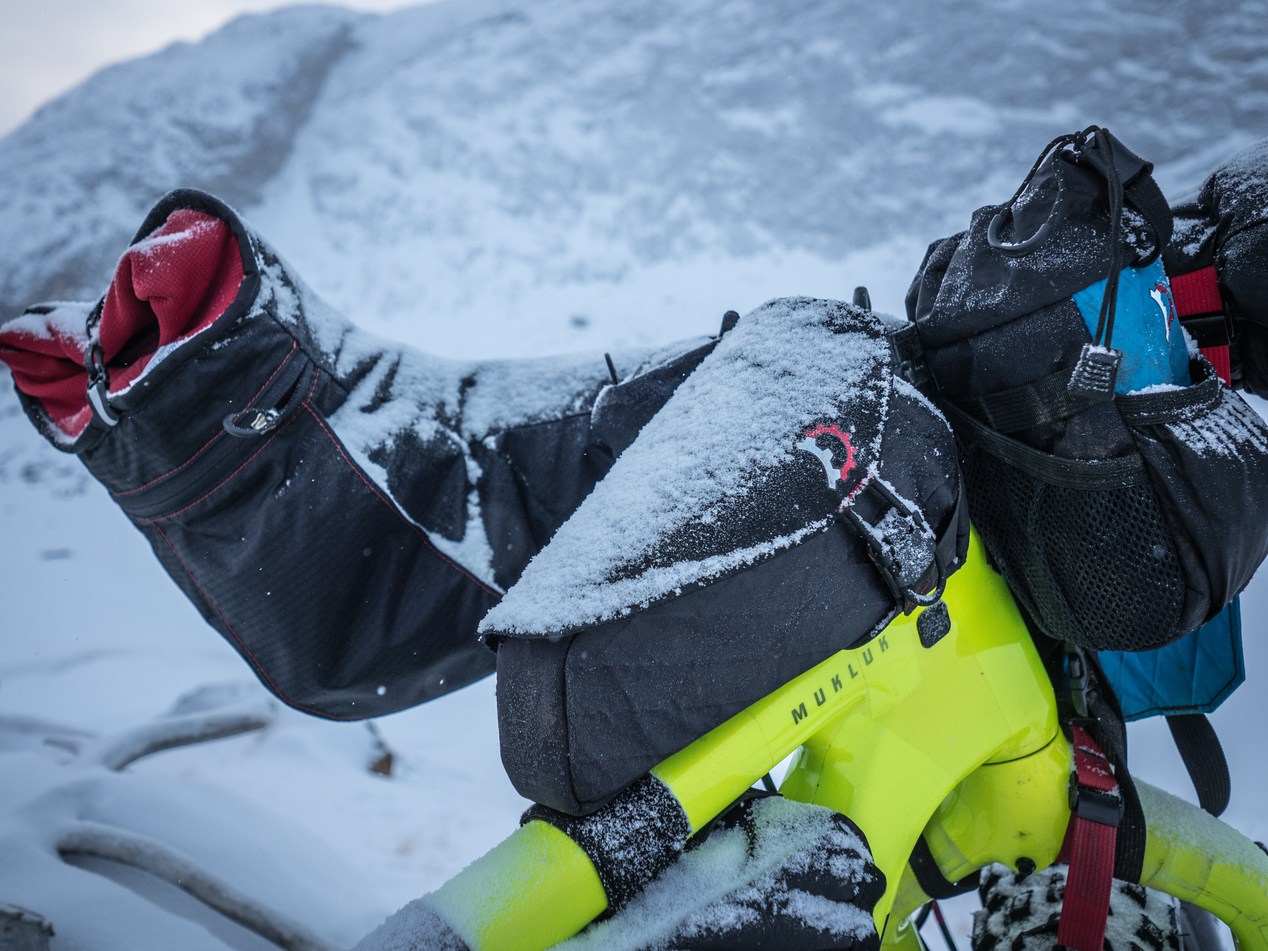
Photo by Huw Oliver
If you don’t want to carry multiple water bottles on your bike, then you might look into using a bladder. The only issue with this is that you’ll have to be very careful to make sure the water inside the hose or the mouthpiece doesn’t freeze.
Now that you’ve read through these tips you’re ready to go for a ride! Have a blast, stay warm, and ride on!